Building the U-9 WW1 submarine from Das Werk in 1/72” scale
To be perfectly honest, I love building fantasy kits more than anything. Recently, I’ve been gravitating towards resin/garage or small batch manufacturers because the subject matter intrigued me. When I saw the announcement that a German small batch manufacturer, DAS WERK was releasing the infamous U-9 from WW1 I simply had to get it. Although this was one of the darkest periods in recent history for the human race, I look at this particular subject through the technology and nothing else.
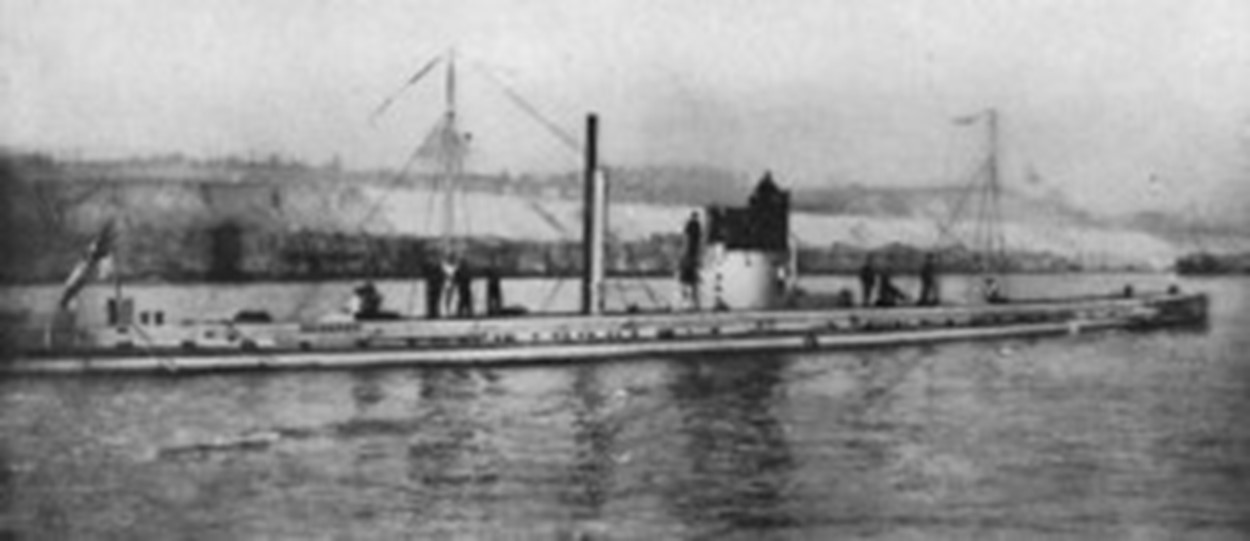
First, a little bit of history on this subject. U-Boats were still in their infancy in 1914, and most naval officers looked down on the fleet. At best, they were considered defensive weapons that could help hold an enemy fleet away from the coasts. But then, on September 22, 1914, a German U-boat saw a cluster of three British Warships and managed to sink them all in under 90 minutes without suffering any damage. This was U-9, one of the first diesel-electric submarines placed in service.
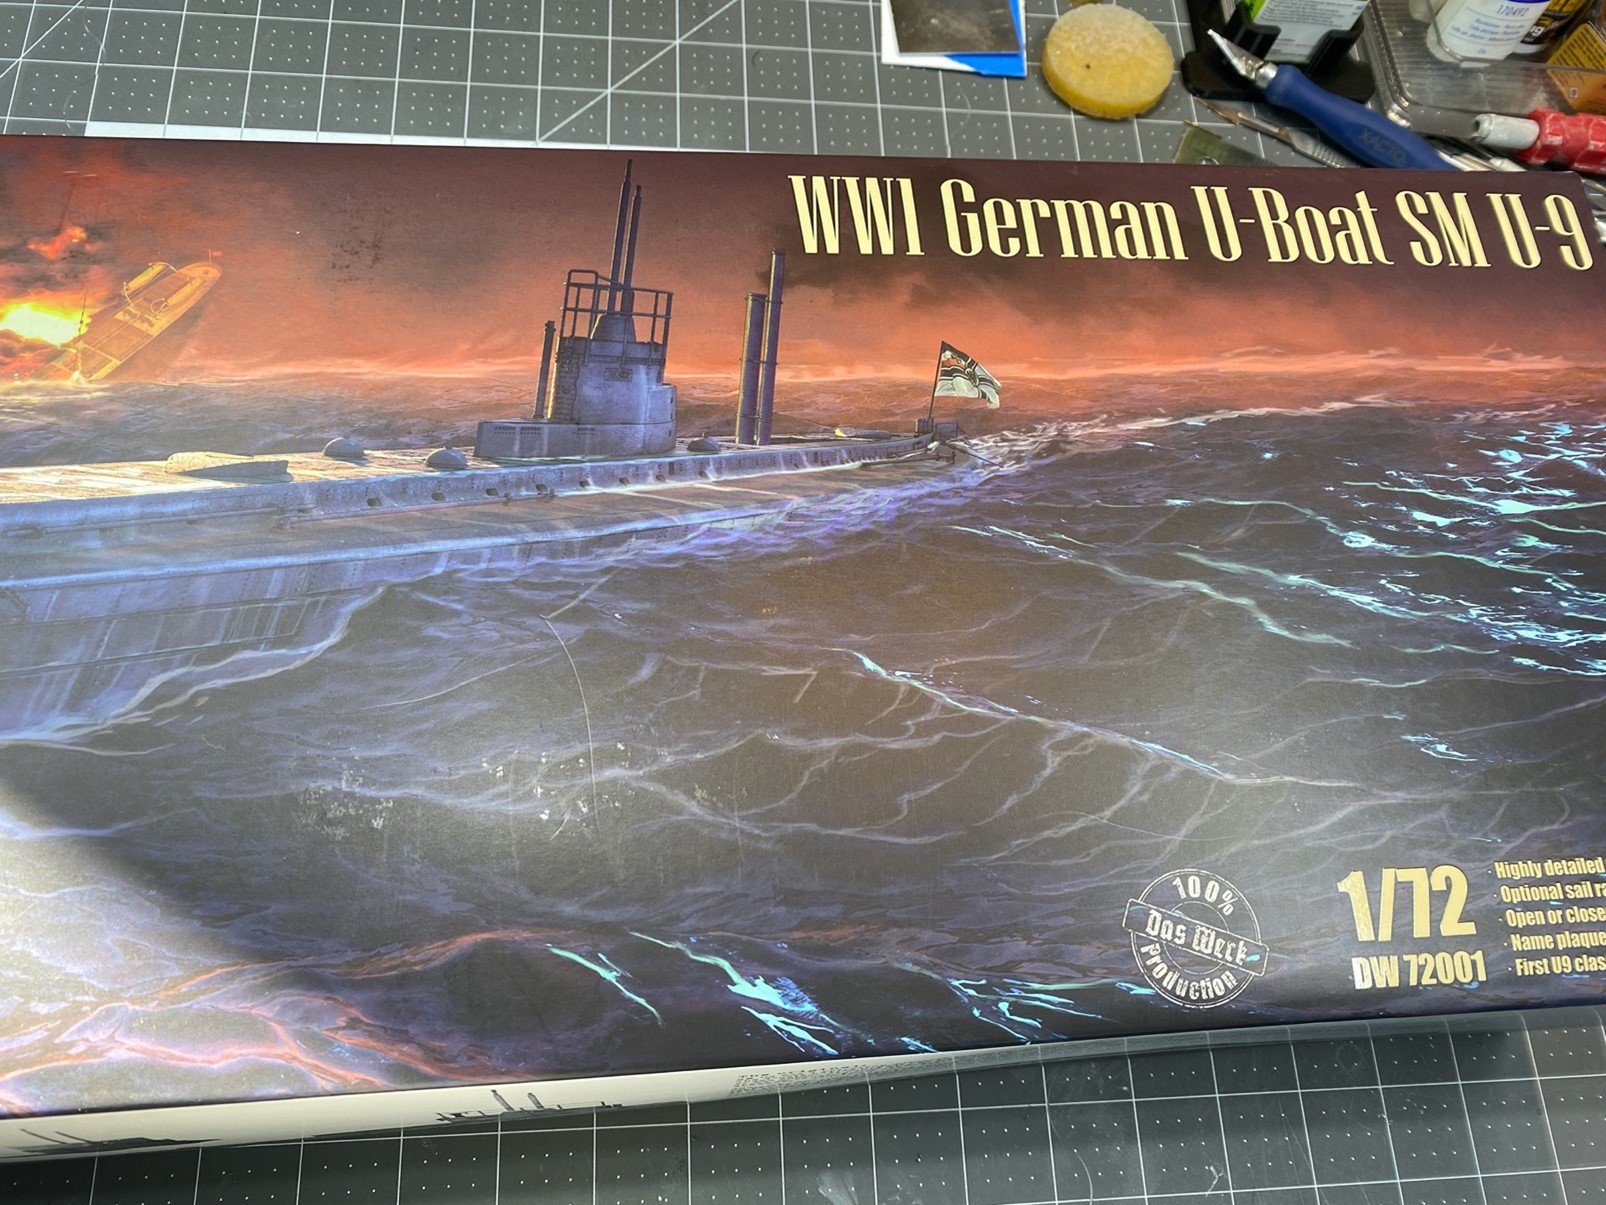
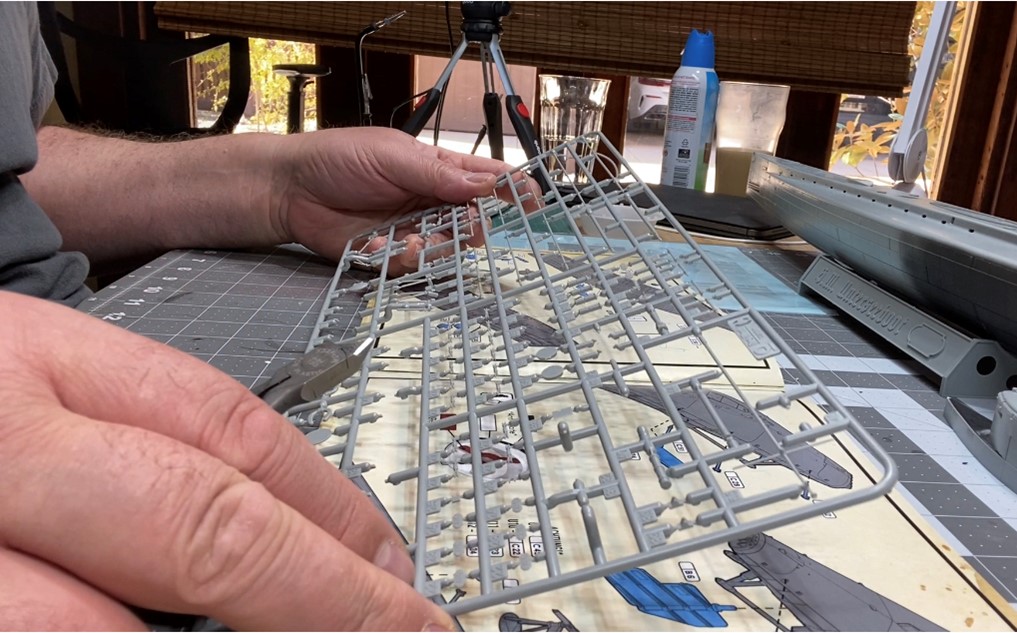
When this kit arrived, the first thing that struck me was the size of the box. I’m always baffled by scale in our hobby because sometimes the scale listed on the box often defies the logic of scale to me but hey! When you open the box, you have a nicely packed (4) sprue bag that includes the hull of the boat as well as a clever peg designed superstructure support system to join the two halves together.
In no time at all, I had one half of the boat complete with the peg system ready to join with its mate. I did several dry test fits and discovered that as ingenious as the peg system was, it did present me with some challenges. First, there was an ever so slight warpage issue that made it difficult for me to align the two boat halves for the test fit. I finally came to the conclusion that I would have to glue a small section at a time hold the halves together with some force until I knew I had a good bond, then move on down the boat. I used TenX 7 styrene cement and Tamiya Thin for this job.
I gave the superstructure a good 24 hours to bond properly before continuing on with the build. At this point, I moved onto some sub assembly work, (sorry for the pun) focusing my attention on the coning tower and the venting pipes that grace the deck of the boat. First the venting pipes. The instructions ask you to insert the pipes into the containment box without gluing the vent pipes to the box, rather they sit in a groove that allows for them to be in either the raised or lowered position as you choose. I primed and painted the vents and glued only the box to the underside of the boat deck. I then moved onto the coning tower assembly.
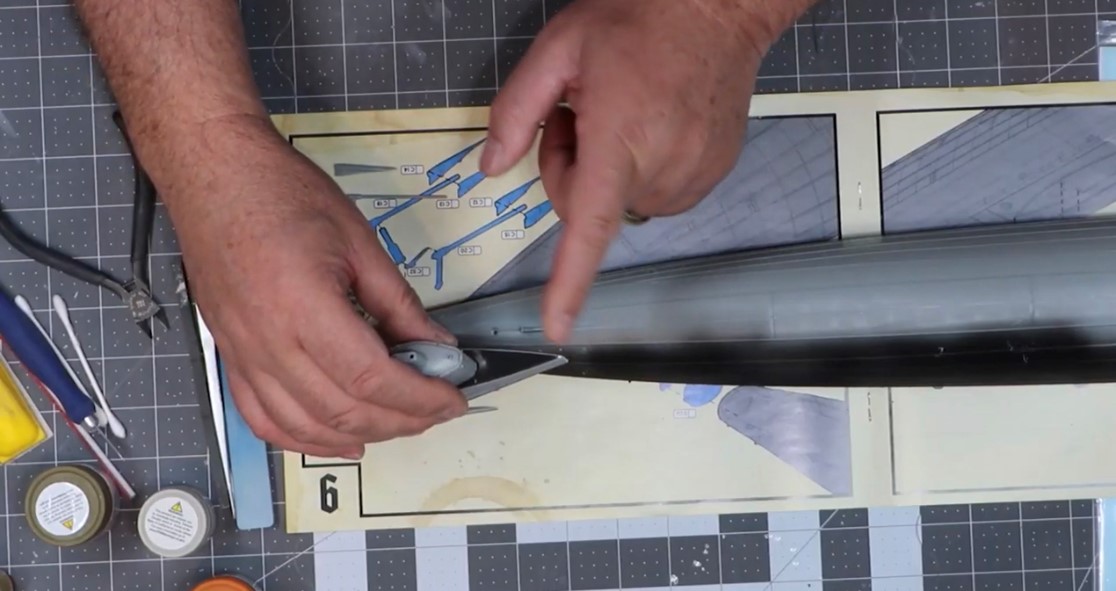
There were no fit issues with this build for the most part on the smaller sub-assemblies, so it was simply a matter of getting everything glued together, priming and painting the parts and holding them in a safe place ready for install.
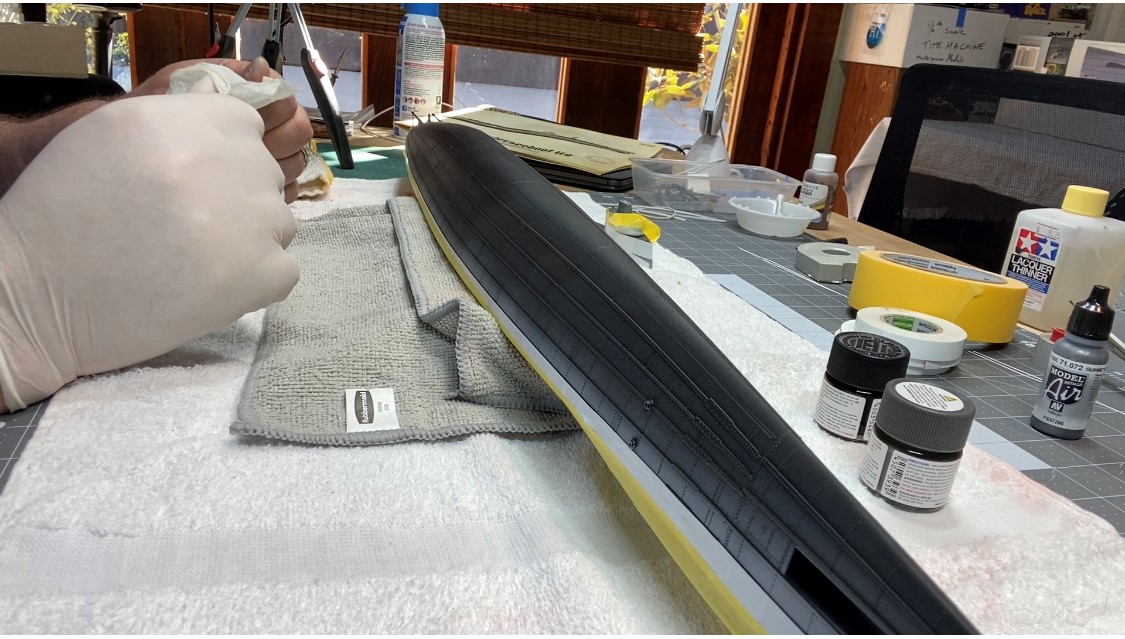
I primed the entire hull with STYNOREZ (black) from badger. While this primer is quite expensive, I do like the way it pulls into all the small details of the model without losing their definition. Once completely dry, (I tend to leave primed pieces for at least 24 hours) it was time to begin the painting process. The instruction guide gives you all the call outs for the painting guide which includes several top brand choices which was greatly appreciated. I used LN dark grey from Tamiya for the hull and deck and Vallejo’s Light Grey for the trim areas of the boat.
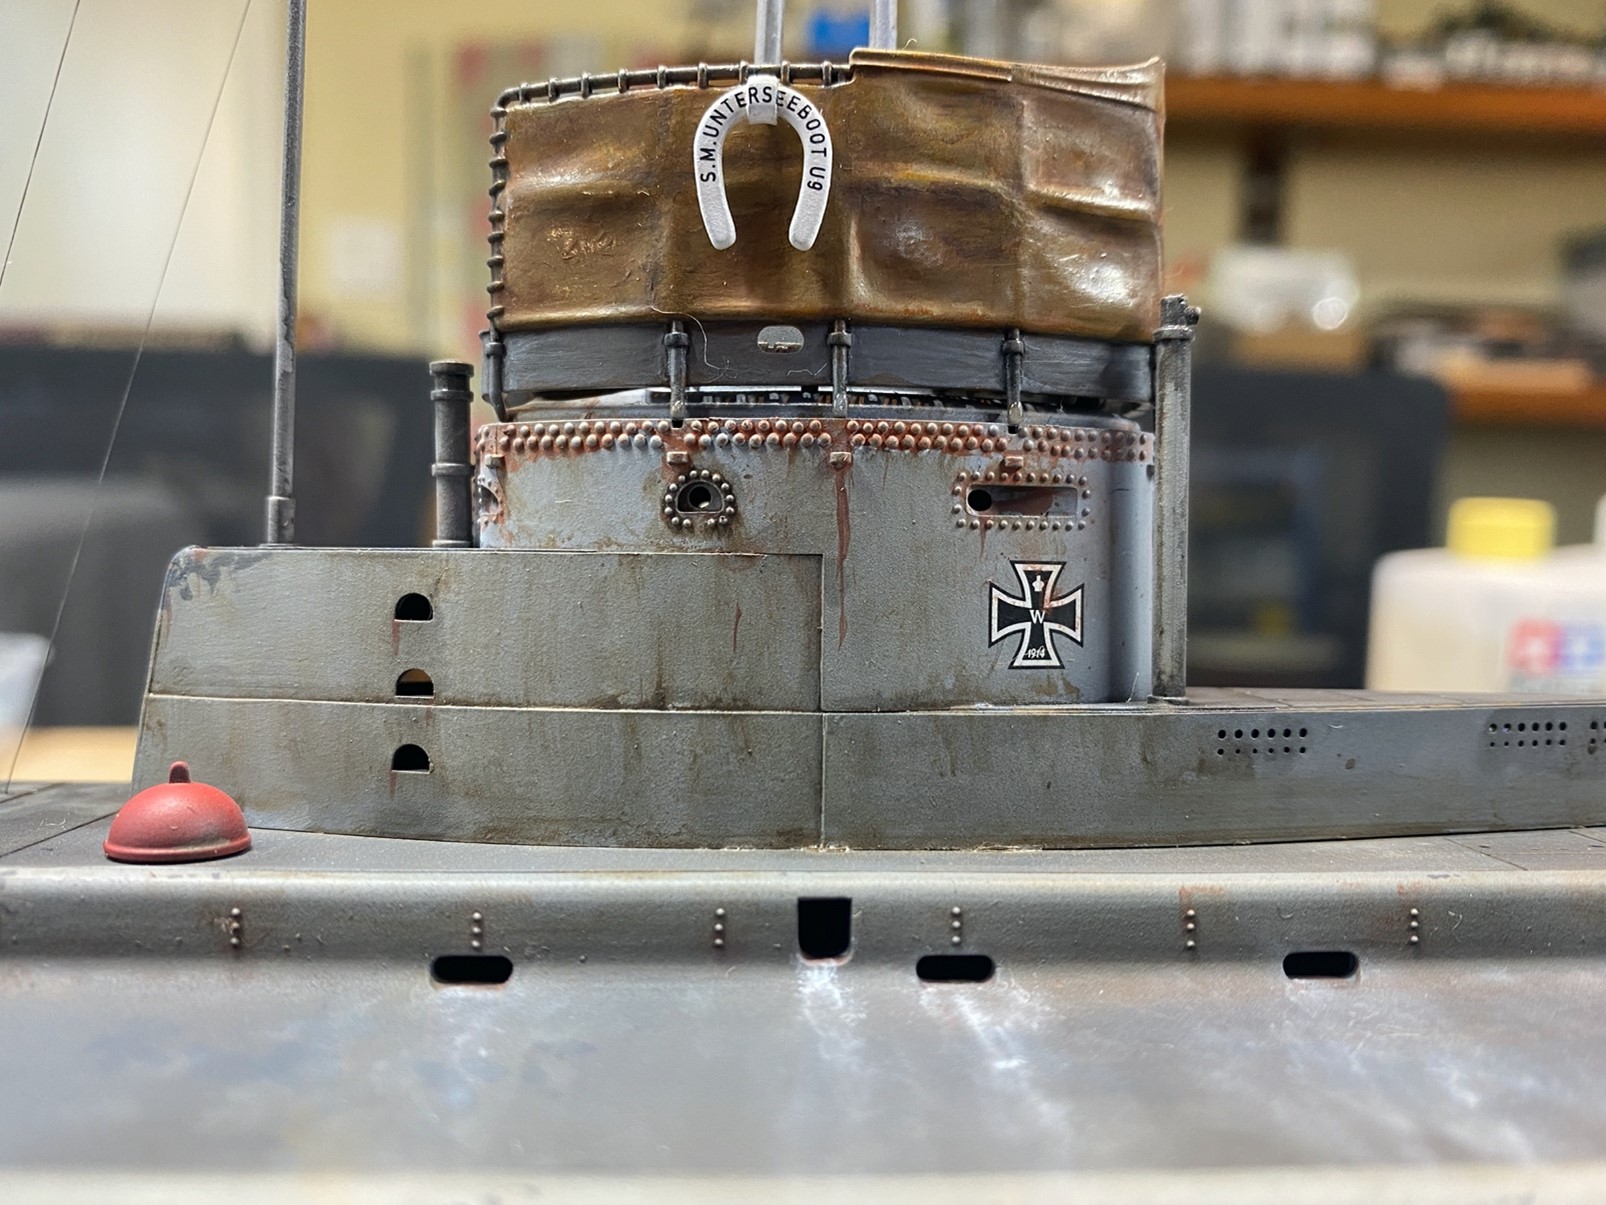
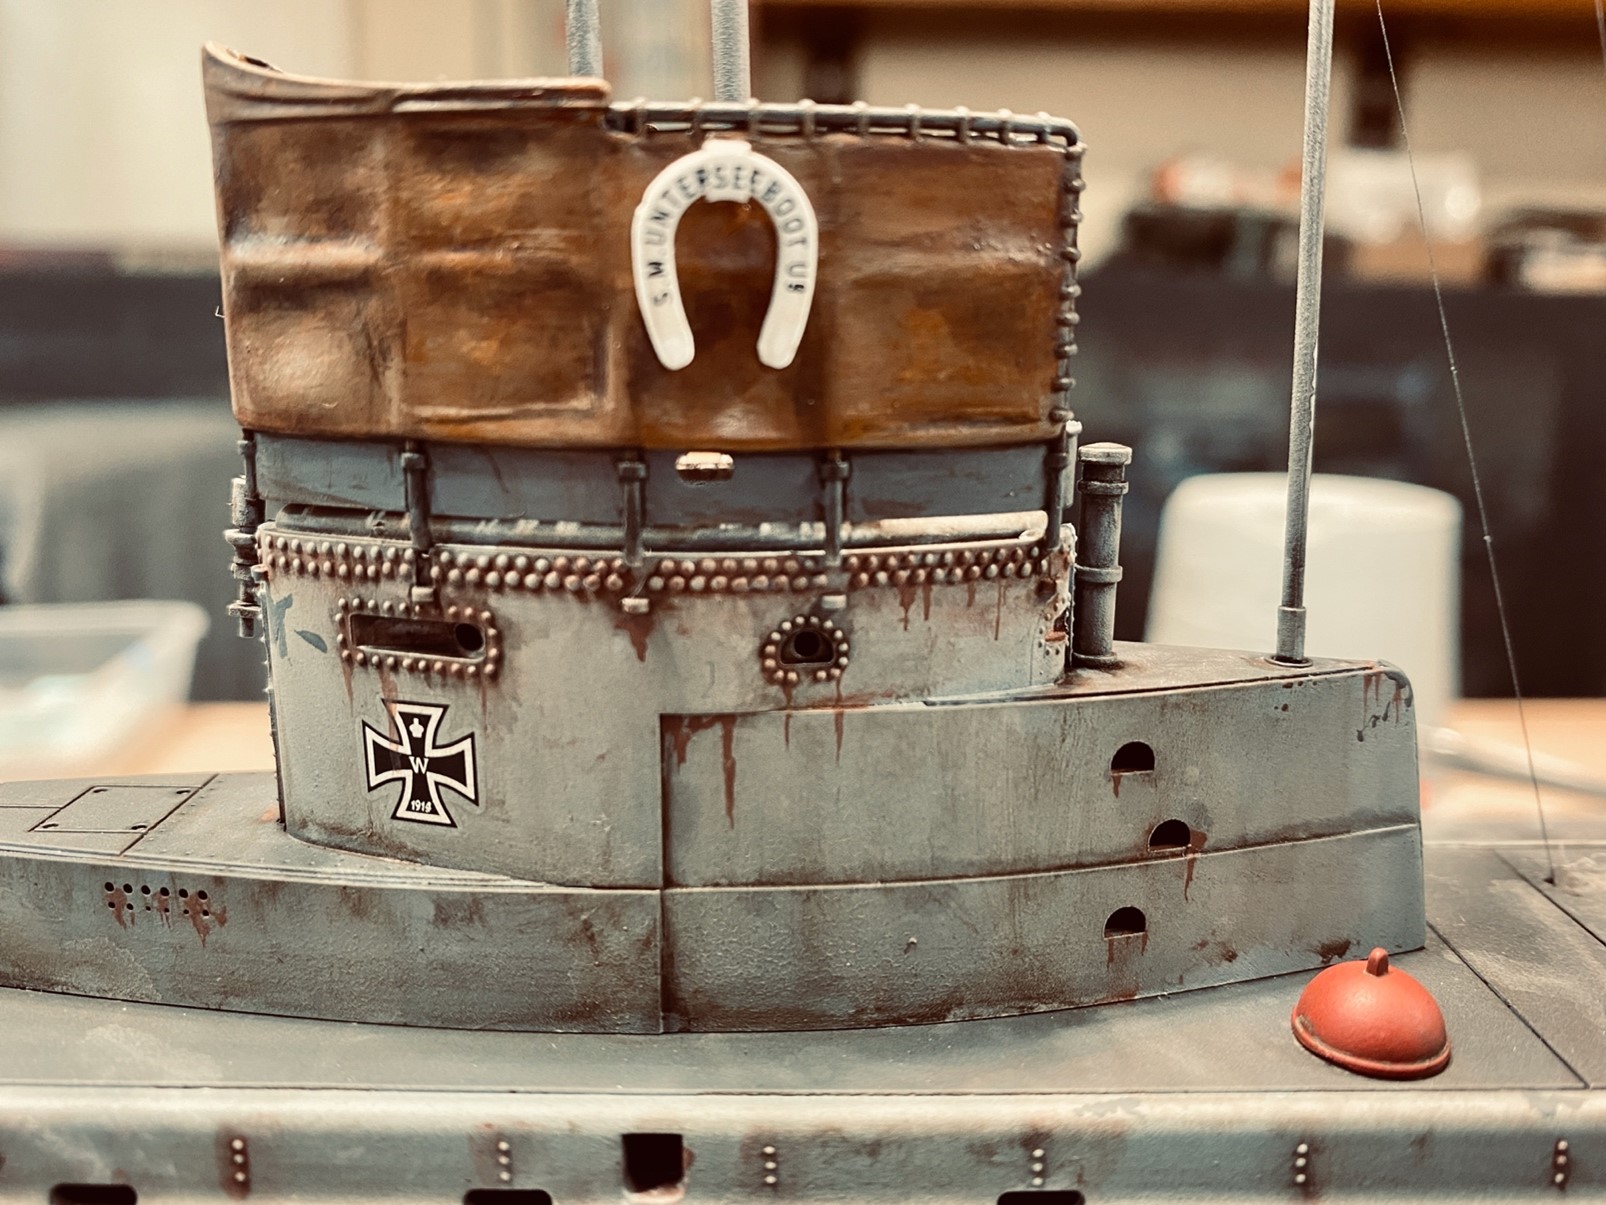
One of the most exiting parts of this build for me was always going to be the detail painting a weathering. I love to create a visual feast for my models when I weather. That’s a very clever way to say, “over the top”! I can’t help it, in a previous life, I must have been a production designer! So, with this in mind, I was ready to begin the detail work. I started with the coning tower. It comes with two options plain rails or rails covered in a canvas material that most likely kept out the wind while you were on deck. I used several paints to achieve the destressed look of the fabric. For me, I thought of this as heavily worn and definitely beaten up from the effects of the ocean air and salt. Tamiya Kaki, deck tan, clear orange created the basic look. Once dry, it was given a good wash of mud which was achieved using Ultimate Washes. I love these washes as they are clay based and work very well with acrylic paints. Unfortunately, they are hard to find at the moment but you may have some luck if you are an internet sleuth!
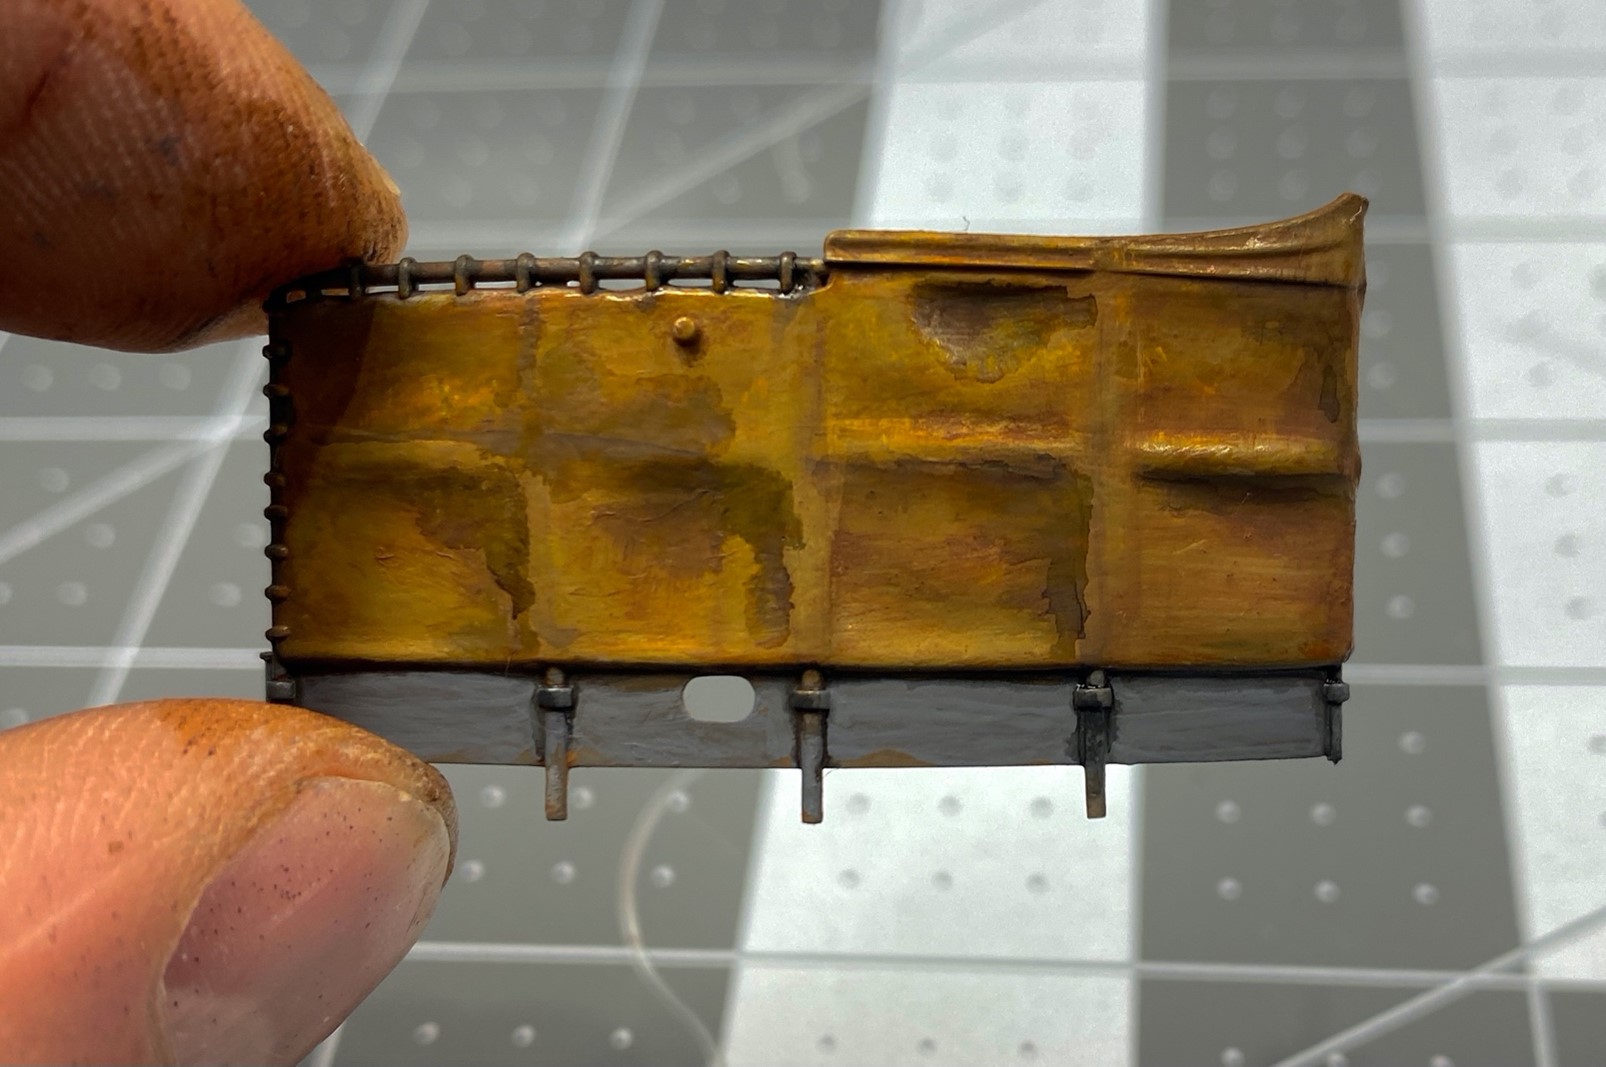
After a little more of a clean-up on the shadow areas which is the effects of the mud wash, I finished the job with a mat varnish. I use Humbrol varnish – they dry so fast and do not craze or crack. I also use Krylon when Humbrol is not available.
Here is the finished coning tower with all weathering complete.
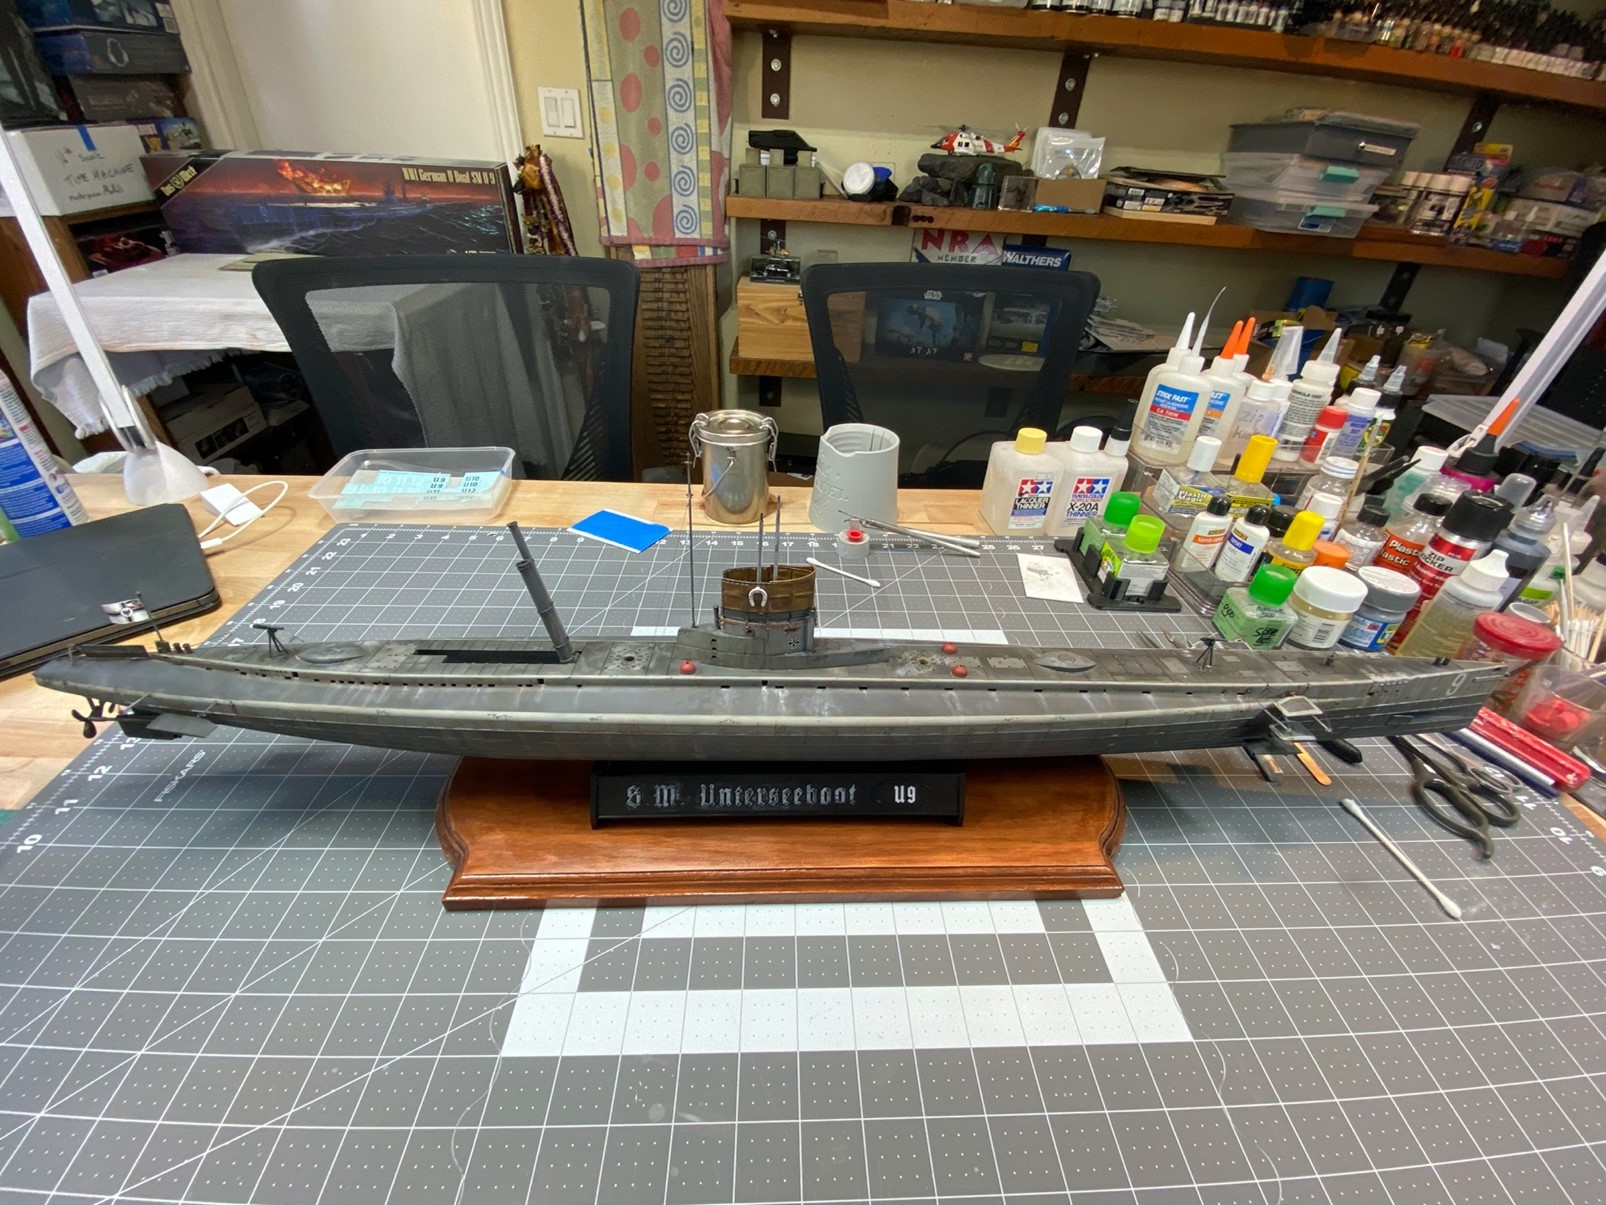
Overall, I had a lot of fun building this model and highly recommend it to anyone. I do not build a lot of this subject but this build has inspired me to look for more!