Build HMS Victory from DeAgostini / Modelspace
Two years ago, I was all gung-ho about Modelspace and their build series. During a three-year period, I have built; Millennium Falcon, R2D2 and the X-Wing. As of this writing, I am also building the Supermarine Spitfire as well. What makes the Spitfire and the HMS Victory very different are there all wood construction, a skill that is learned over years not weeks so why I decided to tackle this project often escapes me. I can tell you that I love history and I’m always looking for projects that can help hone my modelling skills whenever possible and working with wood is very satisfying.
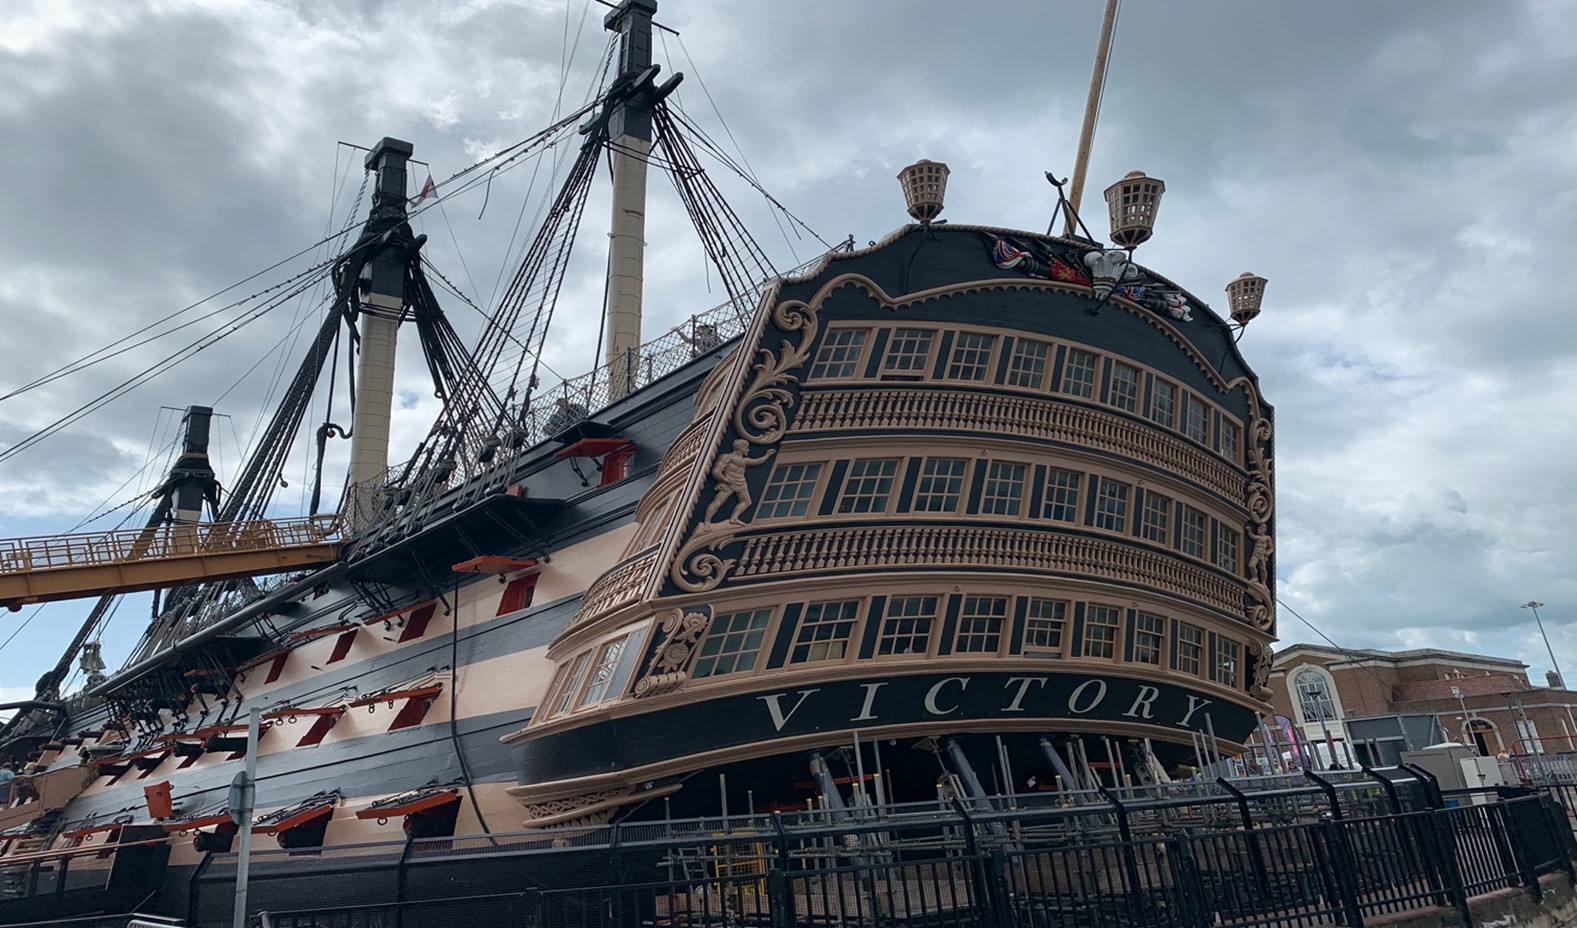
This is HMS VICTORY today, the flagship of Lord Nelson’s navy fleet. Ordered in 1758 her keel was laid in 1759 and she was launched in 1765. She is best known for the Battle of Trafalgar.
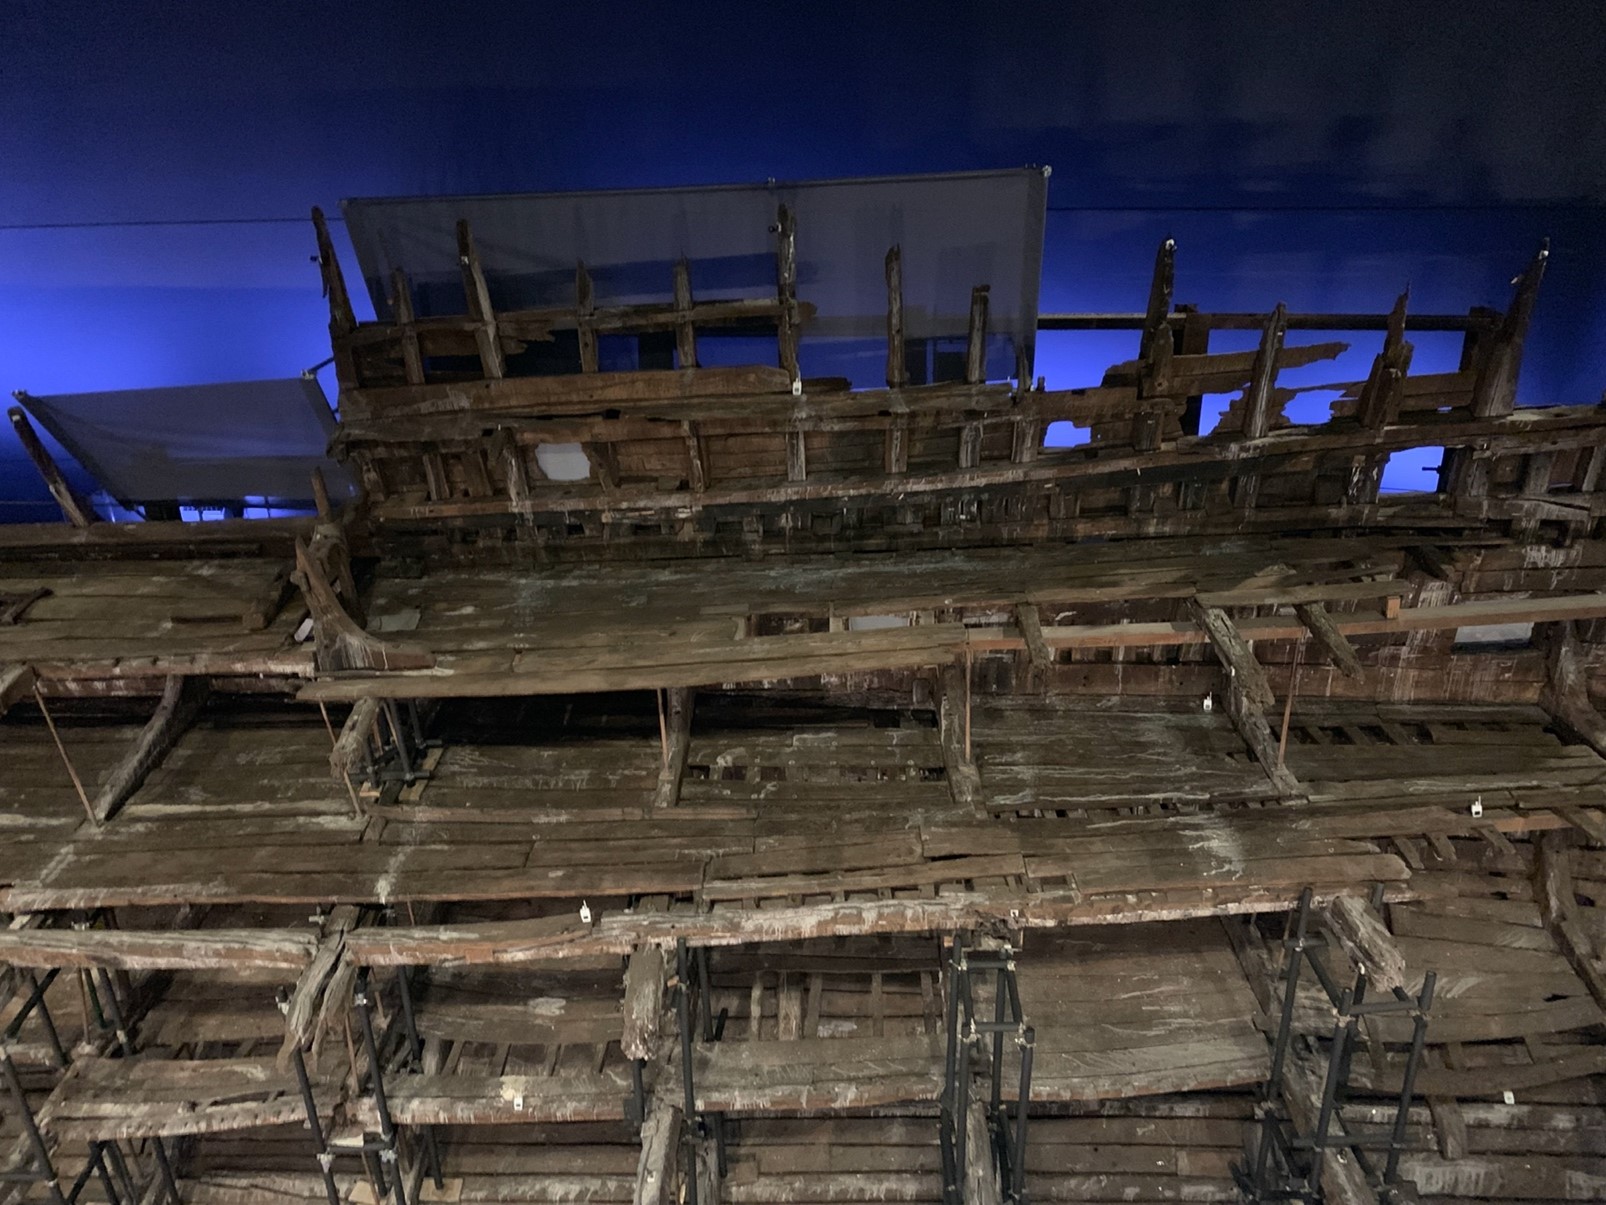
I had the good fortune to be able to travel to Portsmouth in the south of England a few years ago to visit the Victory in person. She is proudly docked at the navy shipyards there along side another iconic ship Henry VIII’s Mary Rose. This photo was taken of Mary Rose from the lookout inside the newly created temperature-controlled museum specially built for her.
Touring the Victory gave me so much inspiration to build my Victory model kit, but it also gave me an awful lot to think about as to how I should approach its construction. I left the Victory totally in awe of its size, engineering and of course its history. On the train back to London, I had the opportunity to review over 70 detailed photos of the actual ship I had taken for reference. I should note that as of this writing, the DeAgostini/Modelspace website indicates the kit is “out of stock” with no details on when if ever it will be available again. A real shame. Perhaps that might change with demand?
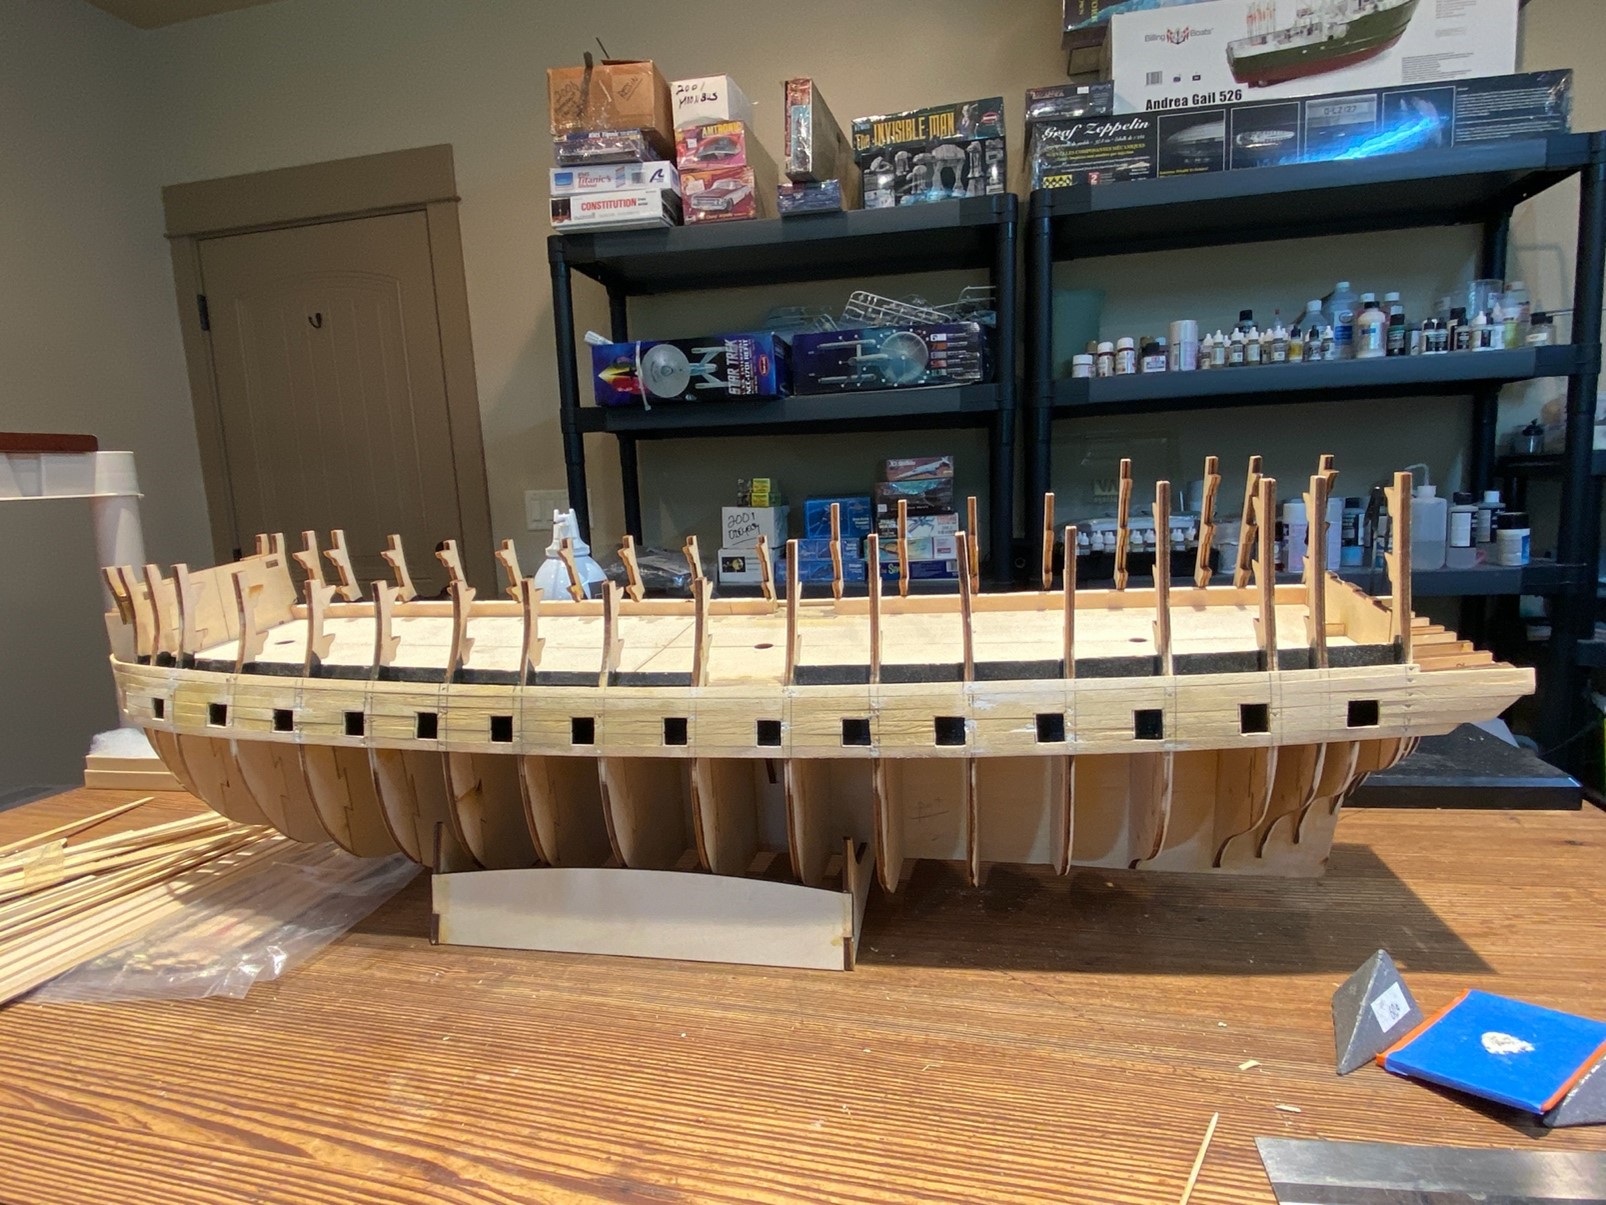
This model kit is that rare breed of projects that will most likely take the better part of three to five years to finish. The build begins with laying the keel, the way all ships are built!
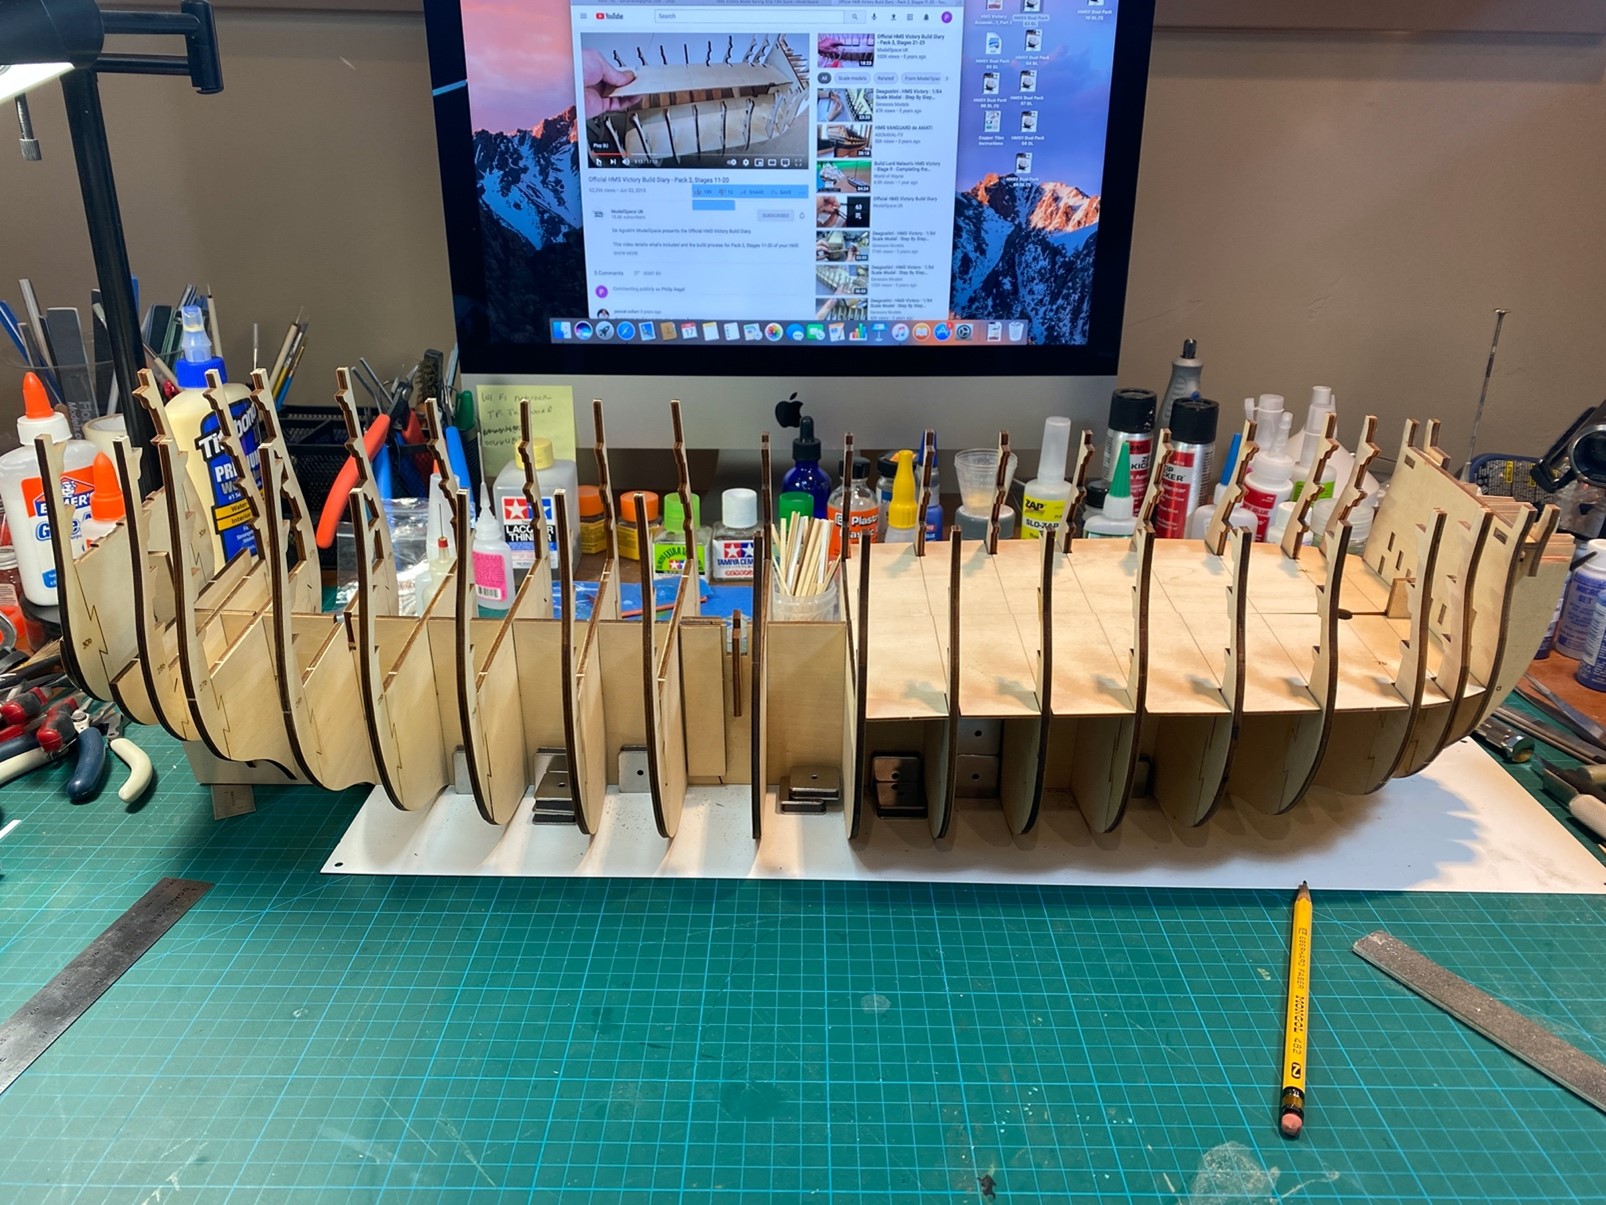
Construction of the frame was quite straight forward and the instructions clear and easy to follow. I will say that as you progress through the kit, the instructions take on a vastly more detailed and complex state often requiring several read throughs to thoroughly understand exacting details on measurements and process. As a novice (and if that’s your category of skill level as well), do not stray from any step and double check you have completed each task to the letter. I say this because there have been a couple of instances where I was not paying attention and made some calculation or location mistakes requiring some delicate repairs to fix my own silly mistakes.
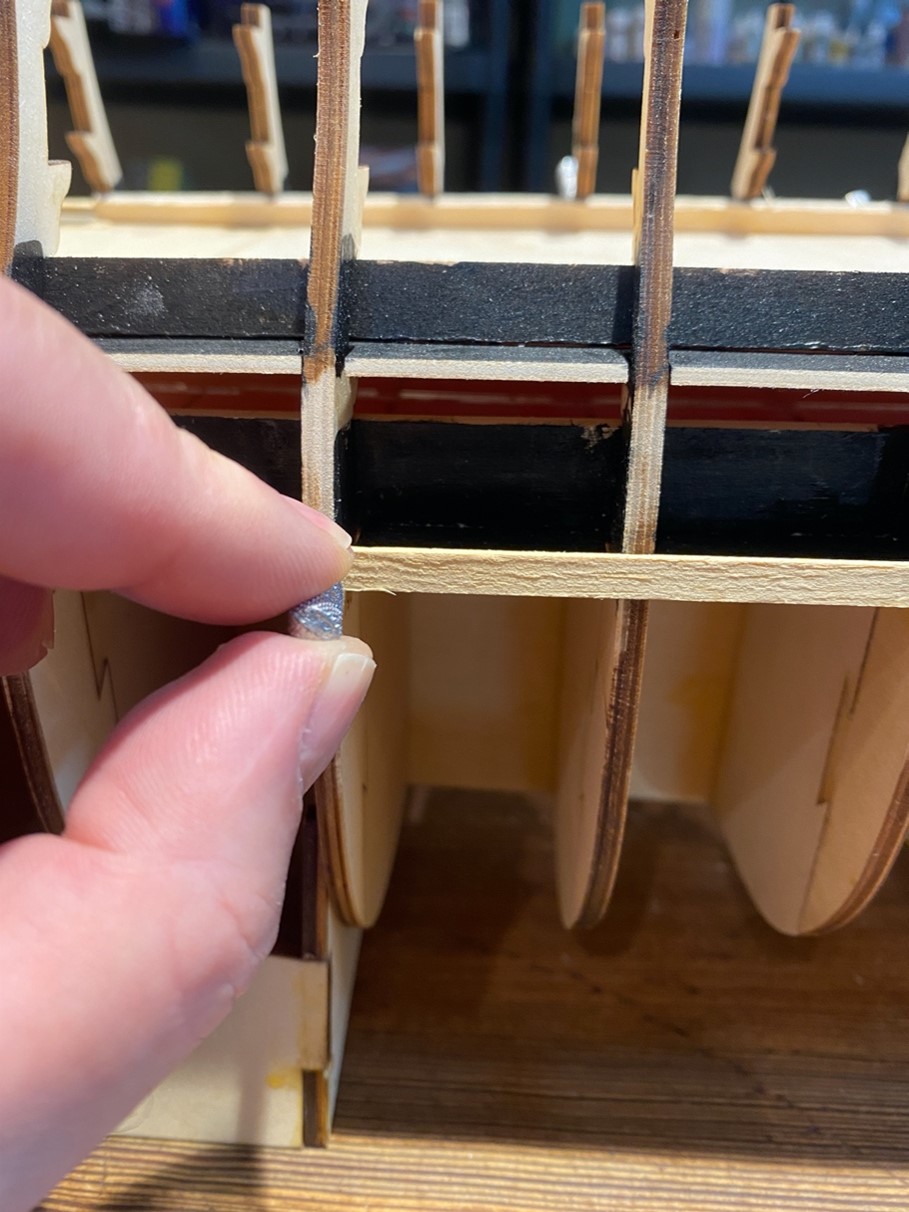
After the frame was completed, and the lower decks installed, I moved onto planking the exterior. This process is incredibly time consuming. I’ve spent approximately 48 hours of planking just to get to this point. In total, I have approximately 75 man hours into the project so far.