Build the movies! JAWS
When I started my YouTube Channel last October, I had no idea how much growth I would achieve in such a short period of time. The friends I have made and the sheer enjoyment of community makes the hobby so much fun and so worthwhile. The idea to build models from the movies isn’t a new idea, but after collaborating with Wayne Green of World of Wayne on YouTube it became obvious that this small part of our shared universe deserved to become an ongoing venture.
Here is how it works…I think of a film that has been immortalized in plastic or resin either from small batch manufactures or major manufacturers and I send the kit to Wayne. At this point, he has no idea what the subject matter is or what the challenge will be. Each Tuesday and Thursday, Wayne has a live show on his channel and it is on this live show he opens the box and reveals the model I’ve sent him. He then brings me onto the show live and we discuss the challenge and all the various opportunities that present themselves. We also have a blast reminiscing about the subject matter and the film it represents. It’s now showtime and we set off on our own channels to unpack the kit and all its potential that is then memorialized in our own build the movies challenge series. When the models are completed, both kits are revealed on a final live show in which we discuss all the pros and cons of the build and our varied approaches. Simple…
This challenge featured the iconic 1975 film JAWS from Universal Pictures – directed by Steven Spielberg and starring Roy Scheider, Richard Dreyfuss and Robert Shaw. The scene we are creating happens in the third act of the film when Matt Hooper our illustrious Oceanographer has to descend into the depths of the Atlantic Ocean in an anti-shark cage to confront the great white shark and kill it using a lethal injection administered through a harpoon like dart. The cage is lowered into the water from the deck of the famous Orca and there, Hooper waits the arrival of Bruce the shark – minutes later the cage is rammed from behind startling Hooper who loses his dart. At this point, the shark attacks the front of the cage, busting through its bars. Hooper now pinned to the back of the cage prepares to be eaten. Miraculously, he manages to get his knife out and stabs at the snout of the shark who is sufficiently pissed off thrashing around biting at the cage. In this moment, Hooper manages to get out of the cage and swim to the bottom of the ocean undetected. There he stays until the end of the film when it is revealed he is alive and well.
The kit itself comes from PEGASUS MODELS and is called Great White Shark – below is the elements of the kit built up ready for paint.

The actual kit does not have many parts so it’s the painting that provides most of the fun. Needless to say, setting the whole thing in block of resin should only add to the dramatic presentation. This blog only covers the construction and paint up of the kit – I will be sharing my resin adventures in another blog.
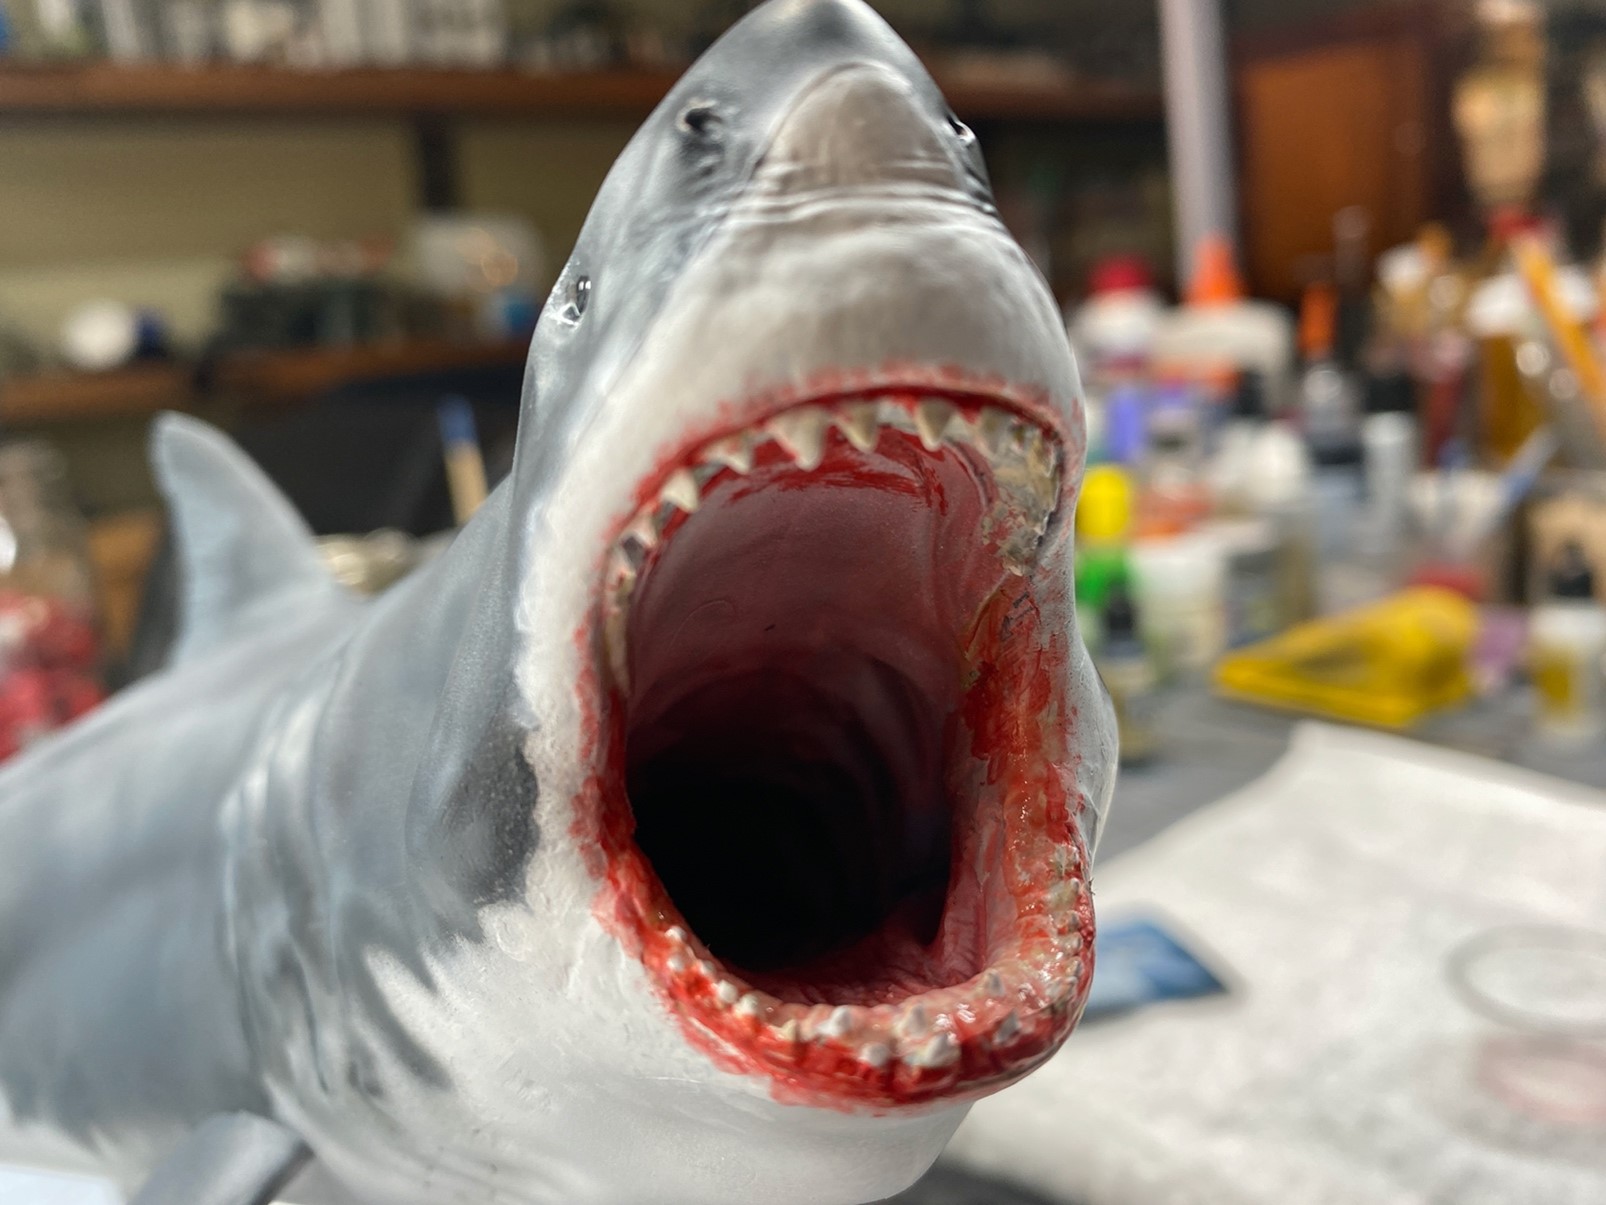
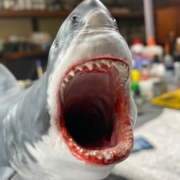
This photo shows the shark in progress. One of the challenges was to convincingly mimic the movie sharks skin features. Additionally, the gaping mouth needed to be sufficiently bloodied and his teeth deadly sharp.
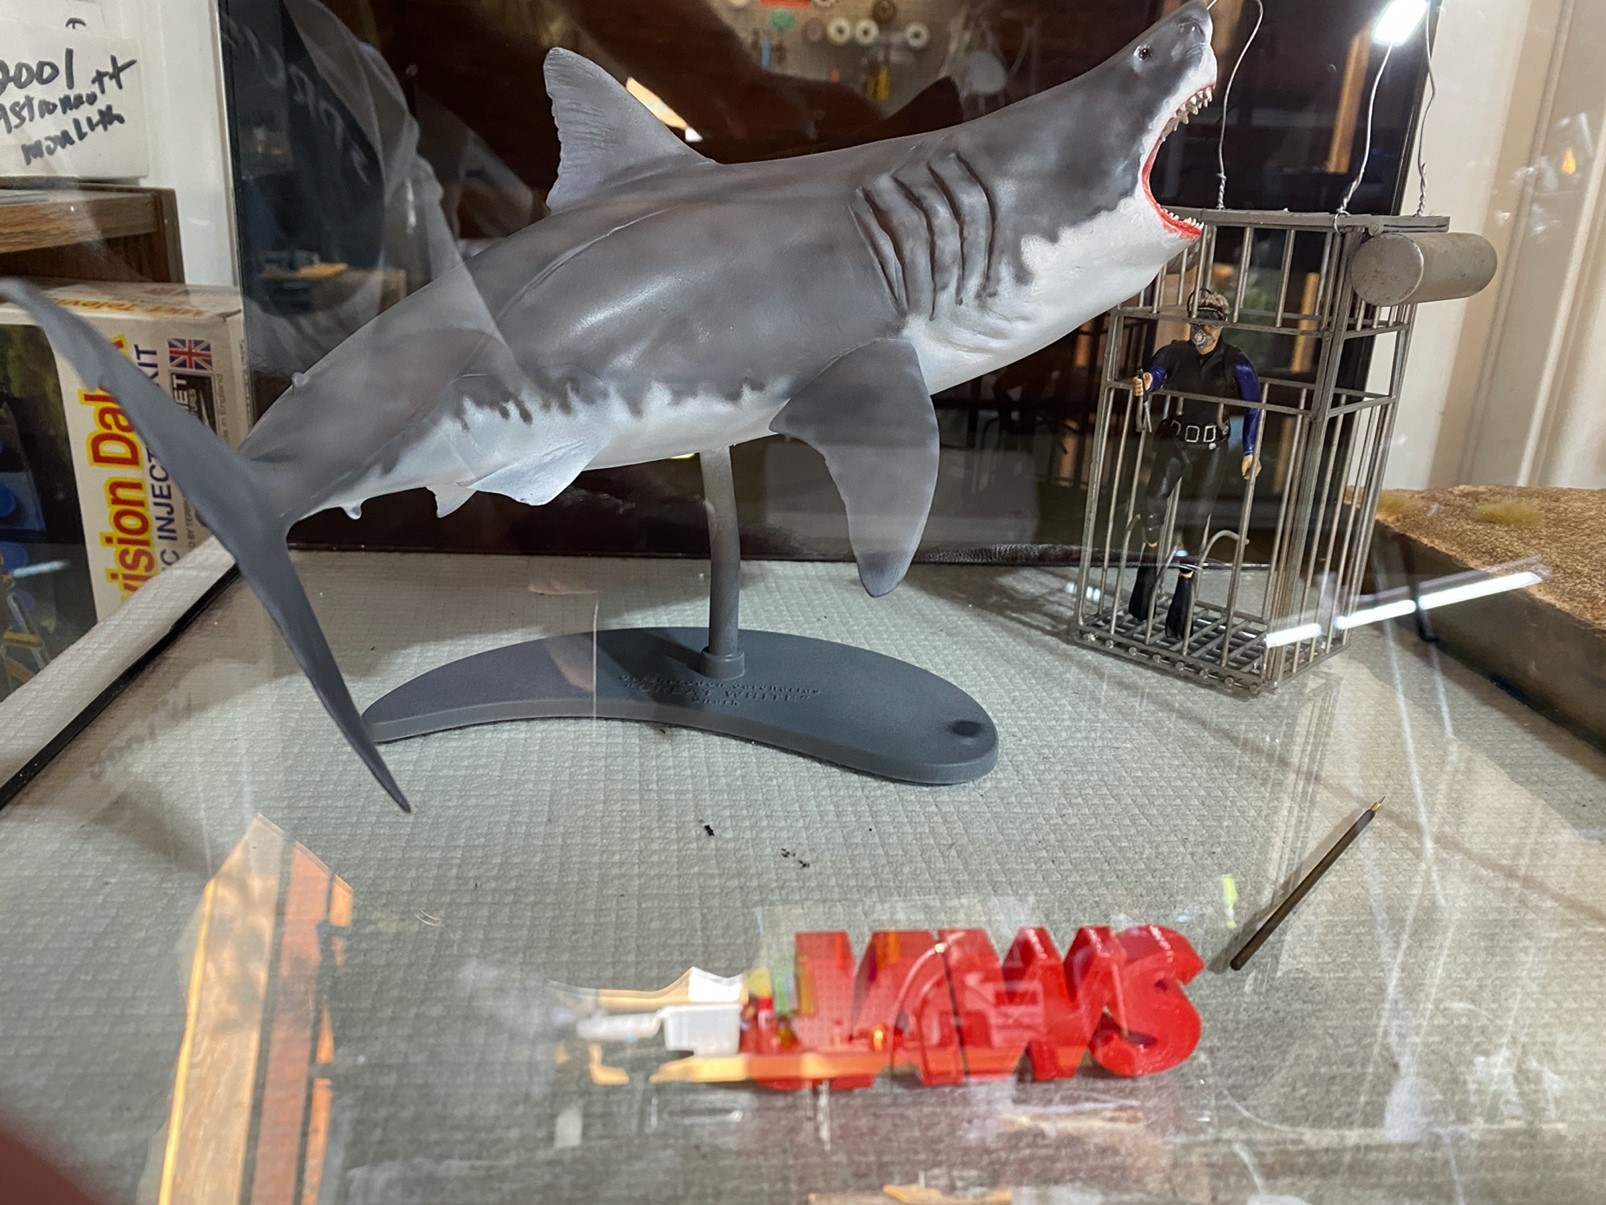
As the painting progressed, I was able to achieve a high level of reality using my Iwata HC airbrush as well as some dry brushing and stippling effects. Once the shark was finished, I gave him several coats of matt varnish from Hubrol. Once the varnish was dry, I added several coats of gloss gel to the mouth and teeth to give them a wet look. Below is a picture of the finished shark, cage and Hooper set in their final home, a 12-gallon fish tank yet to be filled with resin.
My next task was to complete Hooper. His arms were repositioned from the way they came in the kit. I simply removed the plastic pins from his arms and sculpted hands. Here is a picture of the final look along with a knife fashioned from a wooden tooth pick. As you can see from the photo he is jabbing at the snout of the shark. When I finally pour the resin into the tank, I’m hoping to add some red ink dye to the resin just above the shark’s snout. I will show that in a later blog.

Building dioramas can be a challenge and often takes you down rabbit holes you’d rather not enter. However, presenting your models in a scene will definitely set them off and make them a show piece for your collection.
Here is a photo of all the elements in the tank along with a seabed ready for the resin pour.
Build something!!!